How To Measure Industrial PVC Curtains
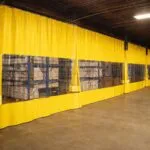
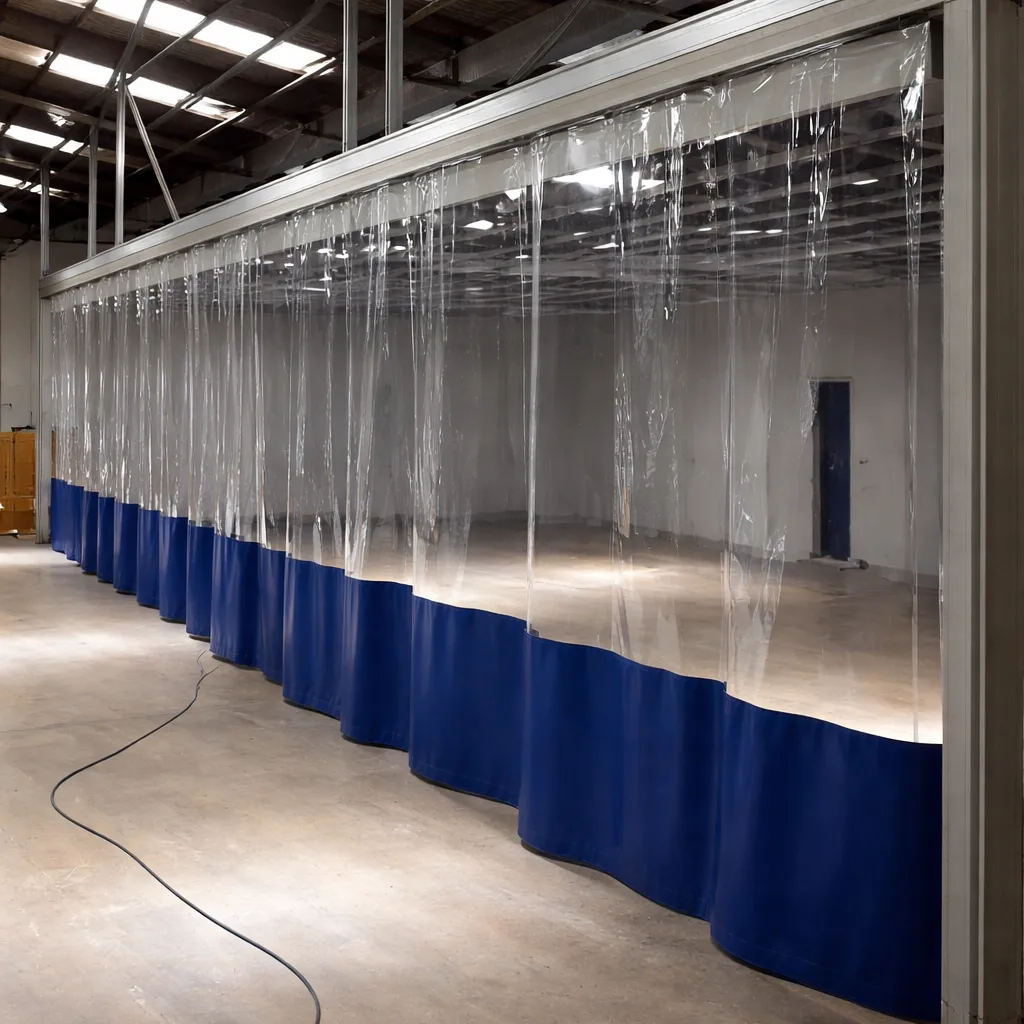
For custom solid PVC curtain pieces, see industrial PVC curtains or send dimensions through contact.
Getting the measurements right is half the battle. A sizing error of just 2 inches can cost you in custom modifications, curtain section spacing issues, or water leaks.
Many buyers give us rough measurements (“it’s about 50 feet wide”) and then get shocked when the curtains arrive wrong-sized. After 13+ years of manufacturing, we’ve seen every measurement mistake possible.
Here’s the exact process we use when customers send us measurements, the formula we apply, and how to avoid the five most common mistakes.
What You Need to Measure
Don’t overthink it. You need four pieces of information:
- Opening width (in feet and inches)
- Opening height (in feet and inches)
- Type of enclosure (straight wall, L-shaped, U-shaped, full box?)
- Obstacles (sprinkler heads, light fixtures, ductwork, beams?)
Tools needed:
- 25–50 ft tape measure (or laser measure for precision)
- Ladder (to reach ceiling/high points)
- Pencil and notepad (or phone for photos)
- Level (optional, but helpful to identify floor/ceiling slope)

Step 1: Determine Your Curtain System Purpose
Before measuring, understand what you’re trying to achieve. This affects how you measure.
Purpose A: Full Floor-to-Ceiling Enclosure
You’re creating a complete box. Measure from floor to ceiling, wall to wall.
- Most accurate measurements required
- No tolerance for error
Purpose B: Partial Enclosure (2–3 Sides)
You’re creating a U-shape or L-shape. Measure the full span of each wall section.
- Slightly more complex measurement (multiple sections)
- More forgiving on exact height (open side doesn’t need exact measurement)
Purpose C: Single Dividing Wall
You’re splitting one space from another. Measure the width of the opening and full height.
- Simplest measurement
- Height precision critical (visual divider must be uniform)
Why this matters: Your measuring strategy changes based on purpose. A full enclosure needs floor-to-ceiling measurements on all four sides. A single wall only needs width and height, not depth.
Step 2: Measure the Opening Width
Width is the side-to-side distance.
For a Straight Wall or Single Section:
- Measure at three points: bottom, middle, top
- Use your tape measure in a horizontal plane
- Pull the tape taut (not slack)
- Record in feet and inches (e.g., 20 ft 6 in)
- Record all three measurements:
- Width at bottom: ______
- Width at middle: ______
- Width at top: ______
- Average the three:
- (Width bottom + Width middle + Width top) ÷ 3 = Average width
Why three measurements? Many warehouses have slightly out-of-square openings (one side 20 ft, the other 20 ft 3 in). Using the average prevents curtains from binding at one end.
For an L-Shaped or U-Shaped Enclosure:
Measure each straight section independently. Measure the corner radii or angles if the enclosure has curves or sharp corners (we’ll need this for custom fabrication).
Common Width Mistakes:
- Measuring only at one point: You miss out-of-square issues
- Pulling tape diagonally: This gives you a longer measurement (you’re measuring a diagonal, not the width)
- Rounding to nearest foot: “About 50 feet” costs you later. Use feet and inches.
Step 3: Measure the Opening Height
Height is the floor-to-ceiling (or floor-to-mounting-point) distance.
Procedure:
- Position your ladder or lift at the location where the curtain will hang
- Measure from floor to the mounting point (ceiling, beam, track attachment point)
- Record in feet and inches
- Example: 10 ft 2 in
- At multiple locations (at least two):
- Measure at one end
- Measure in the middle
- Measure at the other end
- This reveals if the ceiling is sloped
- Check for obstacles:
- Sprinkler heads: How far below ceiling?
- Light fixtures: How far below ceiling?
- HVAC ducts: How far below ceiling?
- The lowest obstacle determines your track height
- Note the floor condition:
- Is it level?
- Is it sloped (for drainage)?
- Use a level on the floor to check
Why multiple measurements? Many facilities have sloped ceilings (especially wash bays with drainage slopes). You want the average height, or you need to note the slope for custom design.
Accounting for Floor Clearance:
Standard industrial practice is 3-inch clearance from floor to bottom of curtain.
This allows:
- Water drainage (especially important for wash bays)
- Fork truck passage (doesn’t snag bottom of curtain)
- Prevents moisture pooling under curtain sections
Formula:
Curtain section height = (Average Ceiling Height) − 3 inches
Example:
- Ceiling height: 10 ft 2 in
- Minus 3 in clearance
- Curtain Section height: 9 ft 11 in
Common Height Mistakes:
- Measuring at only one location: Slope issues get missed
- Measuring to the wrong point: Measure to ceiling, not to a duct or fixture
- Forgetting floor clearance: Curtains end up dragging on floor
- Not accounting for obstacles: Track hits sprinkler head
Step 4: Account for Curtain Section Overlap
Curtain curtain sections overlap each other to prevent water/spray from leaking through gaps.
Standard Overlap Specifications:
For sliding curtain sections (most common):
- Overlap: 2–3 inches where two curtain sections meet
- Example: Three 48-inch curtain sections with 2.5 inch overlap = (3 × 48) − (2 × 2.5) = 139.5 inches (11.6 ft)
For fixed curtain sections (side curtain sections that don’t move):
- Overlap: 3–6 inches (can be larger since they don’t slide)
For full-height enclosures:
- Top overlap: 1–2 inches (curtain sections overlap the track header slightly)
- Bottom overlap: Handled by floor clearance
Calculating Total Curtain Width:
Total Curtain Width = (Opening Width × 1.05) + 2–3 inches overlap

Example:
- Opening width: 20 ft (240 inches)
- Multiply by 1.05 for overlap: 240 × 1.05 = 252 inches
- Add 2 inches header overlap: 254 inches total (21 ft 2 in)
Calculating Number of Curtain Sections:
Once you know total width, divide by your chosen curtain section width:
Number of Curtain Sections = Total Curtain Width ÷ Standard Curtain Section Width

Example:
- Total curtain width: 254 inches
- Standard curtain section width: 48 inches
- Number of curtain sections: 254 ÷ 48 = 5.3 curtain sections (round up to 6)
Step 5: Identify Obstacles
Obstacles affect track placement and curtain section design.
Common Obstacles:
- Sprinkler heads
- Location: How far from wall?
- Height: How far below ceiling?
- Solution: May require offset track, custom track routing, or notched curtain sections
- Light fixtures
- Recessed vs. surface-mounted?
- Height below ceiling?
- Solution: Track routed around, or notches in curtain sections
- HVAC/Ductwork
- Location: Center, side, corner?
- Height below ceiling?
- Solution: Pass-through curtain sections, custom ducting, or offset track
- Electrical conduit or outlets
- Location on wall or ceiling?
- Solution: Curtain Section routing, surface-mounted conduit, or custom curtain sections
- Existing beams or columns
- Location in opening?
- Solution: Track routing around beams, or columns left exposed within enclosure
Action for Each Obstacle:
- Take a photo of the obstacle with something for scale (tape measure, hand)
- Measure distance from the obstacle to the nearest wall or reference point
- Note the height of the obstacle below the ceiling
- Share these details when requesting a quote
Step 6: Measurement Worksheet (Pre-Quote Checklist)
Print this or fill it digitally before contacting a supplier.
MEASUREMENT WORKSHEET
Project Details:
- [ ] Facility type: __________________ (car wash / warehouse / welding / other)
- [ ] Your name: __________________ Phone: __________________
- [ ] Your email: __________________
Opening Dimensions:
- [ ] Width at top: _______ ft _______ in
- [ ] Width at middle: _______ ft _______ in
- [ ] Width at bottom: _______ ft _______ in
- [ ] Average width: _______ ft _______ in
- [ ] Height at left: _______ ft _______ in
- [ ] Height at center: _______ ft _______ in
- [ ] Height at right: _______ ft _______ in
- [ ] Average height: _______ ft _______ in
- [ ] Curtain Section height (minus 3 in clearance): _______ ft _______ in
Enclosure Type:
- [ ] Full floor-to-ceiling box
- [ ] Partial (2–3 sides): Describe ____________________
- [ ] Single dividing wall
- [ ] L-shaped / U-shaped / Custom shape
Obstacles:
- [ ] Sprinkler heads: Location _______ Height _______ Distance _______
- [ ] Light fixtures: Location _______ Height _______
- [ ] HVAC/Ducts: Location _______ Height _______
- [ ] Electrical: Location _______
- [ ] Beams/Columns: Location _______
- [ ] Photos attached: [ ] Yes [ ] No
Mounting Surface:
- [ ] Concrete ceiling
- [ ] Steel beams/joists
- [ ] Drywall ceiling
- [ ] Wall-mount (concrete block / brick)
- [ ] Existing track (type: ______________)
Preferences:
- [ ] Preferred curtain section width: 48 in / 60 in / 72 in / Custom: _____
- [ ] Material: Standard PVC / Fire-retardant / Other: _____
- [ ] Track type preference: Ceiling-mount / Wall-mount / I-beam clamp / No preference
Questions for the supplier:
- ____________________________________
- ____________________________________
Common Sizing Mistakes (And How We’ve Seen Them Cause Problems)
Mistake 1: “It’s About 50 Feet”
What happens: Supplier quotes for 50 ft. Customer’s actual width is 51 ft 4 in. Curtains arrive 16 inches short. Can’t be resized (fabric is already cut). Customer needs to modify opening or buy a second small curtain section kit.
Fix: Measure to the nearest 1/4 inch. Use feet and inches notation. “About” costs thousands in rework.
Mistake 2: Measuring Only at One Height
What happens: Facility has a sloped ceiling (common in wash bays). Measurement taken at the high point: 10 ft 4 in. Curtains made 10 ft 4 in tall. When hung, the sloped ceiling slopes down to 9 ft 10 in at the far end. Curtains are now 6 inches too tall at that end and don’t fit properly.
Fix: Measure at three points along the span. Average them. Or note the slope so we can design accordingly.
Mistake 3: Forgetting Floor Clearance
What happens: Measurement floor-to-ceiling: 10 ft exactly. Curtains ordered 10 ft tall. When hung, bottom of curtain drags on the floor, snags, and can’t slide. Also, water pools under the curtain.
Fix: Always subtract 3 inches from your height measurement. Order curtain section height as (Ceiling Height − 3 in).
Mistake 4: Not Accounting for Obstacles
What happens: Sprinkler head 18 inches below ceiling is not mentioned. Track installed at ceiling height hits sprinkler. Track must be relocated lower, which requires re-drilling mounting points.
Fix: Look up before measuring. Identify all overhead obstacles. Adjust track placement accordingly.
Mistake 5: Rounding to Nearest Foot
What happens: Opening is 20 ft 8 in. Customer rounds to 20 ft. Curtains made 20 ft. With overlap, curtain sections fit, but there’s 8 inches of open space in the corner.
Fix: Record exact measurements in feet and inches. Round only after calculations if needed.
Manufacturer Insight: Common Measurement Mistakes We See
From processing 1,000+ curtain quotes, the most expensive measurement mistakes come from:
- Rounding to nearest foot — Savings from material cost is quickly erased by custom cutting and labor to fit. Always measure to the nearest 1/2 inch.
- Forgetting obstacle locations — A sprinkler head 18 inches below ceiling that wasn’t mentioned means track must be relocated after installation. Budget level: medium in rework.
- Not accounting for ceiling slope — Many facilities have sloped ceilings (wash bays, warehouses). Measuring at one point and using that for the whole span causes curtain section binding at the low end.
- Measuring width but not checking for square — A “20 foot opening” that’s actually 20 ft 6 in on one side and 19 ft 10 in on the other costs in custom seaming and overlap adjustments.
- Providing estimates instead of measurements — “Roughly 50 feet” has cost customers thousands in remeasures and modifications. We’ve learned to ask for exact measurements before starting manufacturing.
Track Length Calculation
Once you know the width, you can calculate how much track you need:
Track Length Needed = (Total Curtain Width) + 12 inches (for end caps and stops)

Example:
- Total curtain width: 254 inches (21 ft 2 in)
- Plus 12 inches for fittings: 266 inches
- Track to order: 266 inches (22 ft 2 in)
Sizing Formula Reference Card
Print this or save it:
MEASUREMENT FORMULAS

1. Average Opening Width:
   (Width top + Width middle + Width bottom) ÷ 3 = ______

2. Average Opening Height:
   (Height left + Height center + Height right) ÷ 3 = ______

3. Curtain section height:
   Average Height − 3 inches = ______

4. Total Curtain Width (with overlap):
   Average Width × 1.05 = ______
   (Or: Average Width + 5% for standard overlap)

5. Number of Curtain Sections:
   Total Curtain Width ÷ Standard Curtain Section Width = ______
   (Round up to nearest whole number)

6. Track Length:
   Total Curtain Width + 12 inches = ______
FAQ
Q: Do I need to measure to the nearest 1/4 inch? A: To the nearest 1/2 inch is fine for most industrial curtains. For precision work (exact fit in a tight space), 1/4 inch is better.
Q: What if my ceiling is sloped? A: Measure at multiple points and provide us the average (or note that it’s sloped). We can design for sloped ceilings.
Q: What if I have obstacles like sprinkler heads? A: Tell us the location and height. We may need to route the track around obstacles or design custom curtain sections. This affects cost and lead time.
Q: Can you measure for me if I’m unsure? A: Some manufacturers offer on-site measurement for a fee. Contact us—we can discuss options for your situation.
Q: How accurate do the measurements need to be? A: Within 1/2 inch is acceptable. Within 1/4 inch is ideal. More than 1 inch off and we’ll ask you to re-measure before proceeding.
Ready to Order? Send Us Your Measurements
You don’t have to calculate everything—send us your measurements and we’ll do the math. But having this information in advance speeds up the quote process.
Submit Your Measurements for a Quote →
Unsure about your measurements? Call or email us—our team is happy to walk you through it. We’ve solved measurement challenges for 1,000+ facilities and can help ensure your dimensions are accurate before manufacturing begins.
Related Reading
- Industrial PVC Curtains: Sizes & Configurations
- Car Wash Curtain Installation: 7-Step Guide
- Industrial Curtain Track Systems: Types & Installation
- Industrial PVC Curtains
Ready to get started? Request a Custom Quote or Browse Our Curtain Products on Alibaba.
Author: SKP Material Engineering Team Published: April 2026 Topics: Measurement & Sizing, Installation Planning, Project Preparation